

MECHANICAL TEST
MECHANICAL TESTING AND METALLURGICAL LABORATORY
The destructive tests that we perform at BOSE are mainly aimed at verifying the surface hardness, the resistance to the different stresses that it may be subjected to, the degree of finish of the machining or the presence of internal cracks in the material.
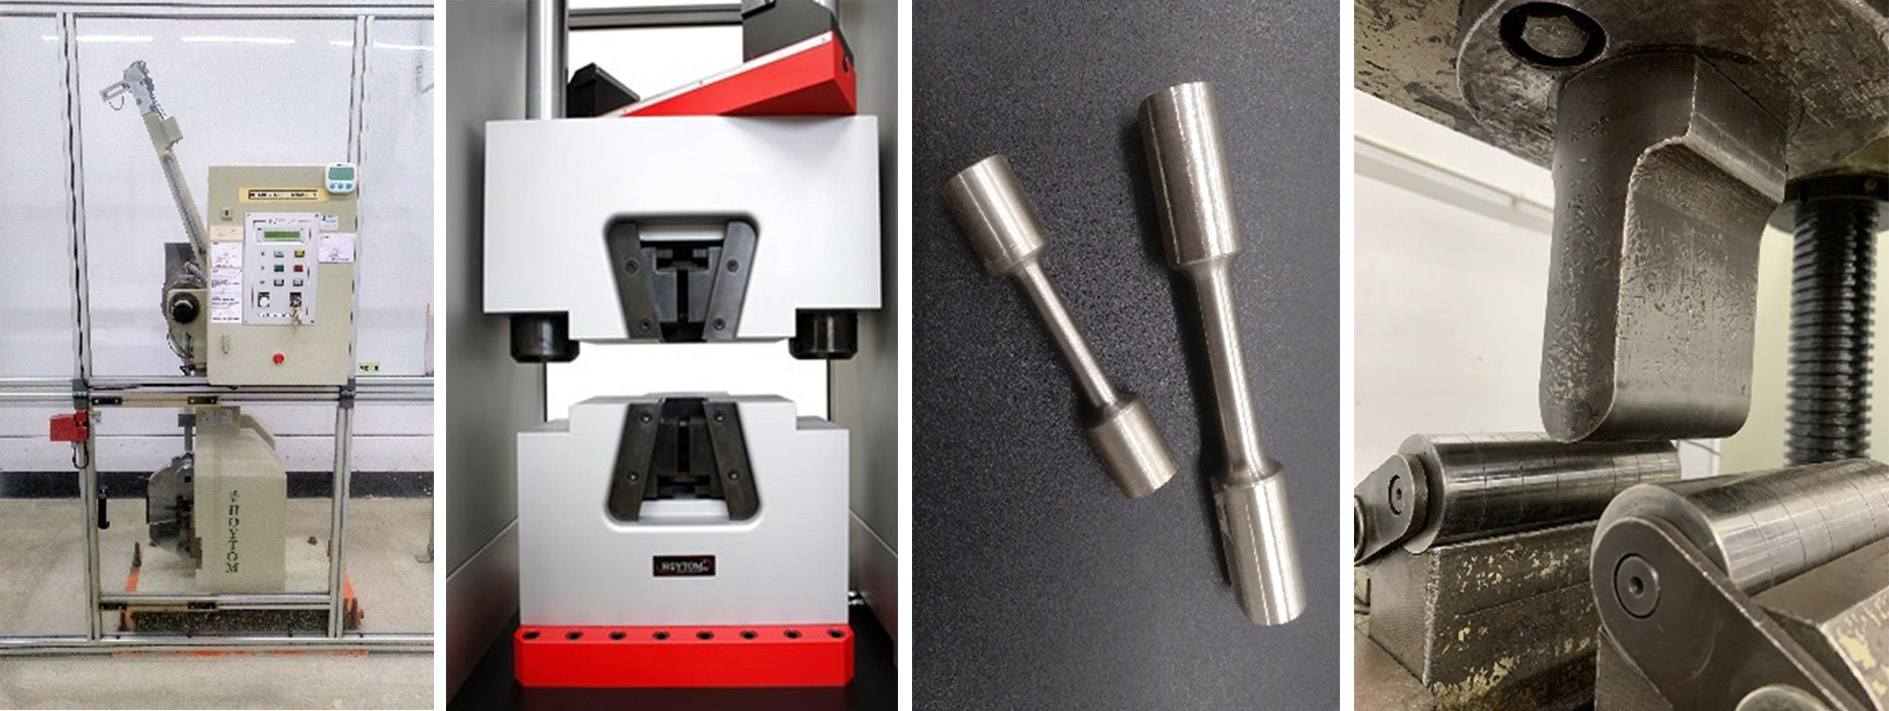
We have our own workshop and a fleet of machines for Mechanical Tensile Testing, Bending, Breaking (Universal Testing Machine), Shock Bending (Resilience), Brinell Hardness, Rockwell B and C, Vickers, externally calibrated by accredited institutions.

1.1 – BEND TEST
The purpose of the bend test is to evaluate the ductility and/or absence of imperfections on the surface or near the surface of the specimen. This test is applied on metallic materials and welded joints.
1.2 – SHOCK BENDING TESTS
The Charpy resilience is a pendulum that is used in tests to determine the toughness of a material. By using specimens of standardized dimensions with a V-shaped notch, this test also determines the ductile-brittle transition temperature.
The test is performed at laboratory temperature (23 +/- 5ºC), and CHARPY tests can be performed at temperatures of -196ºC.
1.3 – TENSILE TESTS
The test consists of subjecting a specimen to a tensile stress with a constant speed determined by the surface, following the criteria of the standard to be applied, until breakage to determine the following characteristics:
– Tensile strength
– Elastic limit
– Elongation
– Stiffness
This test is carried out for metallic materials without welded joints, in specimens with welded joints and in tubes.
1.4 – HARDNESS TEST
This test is applied to metallic materials and arc welded joints. The main types of hardness are: Rockwell, Brinell and Vickers, which differ from each other by the type of indenter and by the way the load is applied.
The methods for measuring hardness consist of indenting a sample of the product to be tested by applying a given load on an indenter and then measuring a geometric characteristic of the indentation.
The purpose of these tests is to perform macrographic and micrographic examination of metallic materials for the detection of defects and/or anomalies in the parts to be examined and their microstructure.
2.1 – MACROGRAPHS
The purpose of macrographic analysis is to reveal the macrostructure of a metal or metallic alloy, in order to highlight physical or chemical anomalies likely to affect its homogeneity.
2.2 – MICROGRAPHS
The purpose of micrographic analysis is to reveal the microstructure of a metal or metal alloy by means of a suitable chemical reagent. The attack with the chemical reagent is used to highlight the physical or chemical anomalies likely to affect its homogeneity.
The purpose of Chemical Analysis is to determine the chemical composition of materials. All chemical tests are carried out in the laboratory on all metallic samples susceptible to Chemical Analysis (Iron, Copper, Aluminum and Nickel base) by indication of the Standards to be applied or by customer’s request.
NON DESTRUCTIVE TESTING
The objective of non-destructive testing is to guarantee the quality of the metallic materials analyzed. In these tests, the inspected material is not modified or damaged. The objective of the test is to obtain agile and efficient results in order to take preventive or corrective measures. They can be performed on any type of metallic material, as well as its welds.
BOSE has the means and technicians accredited at Level II and Level III by CERTIAEND.

It is a technique that mainly uses the human eye to establish criteria for acceptance or rejection of a material, by qualitative and quantitative aspects that the inspector determines according to established codes and standards. When the human eye does not apply in the identification of a finding, magnification, illumination and measuring instruments are used. This is the number one technique in any non-destructive test; because it is applied first.
Liquid penetrant inspection is used to detect and identify discontinuities present on the surface of the materials being examined, which may lead to future material failure. It is generally used on non-ferrous alloys, although it can also be used for the inspection of ferrous materials when magnetic particle inspection is difficult to apply.
Ultrasonic testing, also known as UT testing, is a method for characterizing the thickness or internal structures of a part under test by applying high-frequency ultrasonic waves.
Magnetic particle inspection is a non-destructive testing method used for both surface and sub-surface inspection. This technique is used in ferromagnetic materials allowing the detection of cracks and other discontinuities both superficial and close to the surface.
Industrial radiography is a method of inspecting materials for non-visible defects using the penetrating ability of shortwave X-rays, gamma rays and neutrons to penetrate various materials.
WELDING HOMOLOGATION
BOSE has the means and technicians accredited as International (IIW) and European (EWF) Welding Engineers.
Welding Procedures Qualification (WPQR)
Qualification of welders (W…)
Welding Specification (WPS)
The laboratory is able to perform from scratch and/or renew welding procedures, welder qualification and including the performance of the corresponding tests.
OTHER STUDIES
– Failure Study
– Corrosion process examination
– Metallographic study of claims
– Expertise

